
Downloads
Overview
This post is about how to create a REST API to connect Postman with Salesforce
Steps
Step 1. Create a Connected App
Step 2. Get Customer Key and Customer Secret
Step 3. Relax IP and user restrictions
Step 4. Give the Salesforce app access to our profile
Step 5. Connect Postman with Salesforce App
Step 6. Create an Account from Postman
Resources
Step 1. Create a Connected App
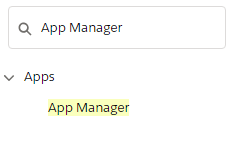
Log in Salesforce (Lightning Experience) -> Setup -> Search ‘App Manager’.
Click on ‘New Connected App’.

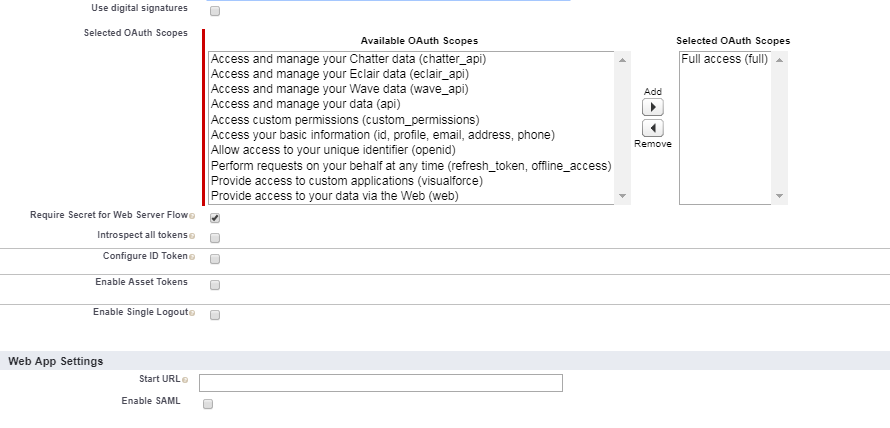
In this example, we will not be very restrictive with the authorization. Called ‘My Postman API’ and fill the fields with these values.


Click on ‘Save’ button. The app will be available in 10 minutes approximately.
Step 2. Get Customer Key and Customer Secret
In Lightning Experience, go to Setup -> Search ‘App Manager’.
Click on ‘View’ on the ‘My Postman API’ record.

Write down ‘Customer Key’ and ‘Customer Secret’ fields because we need to use them later.

Step 3. Relax IP and user restrictions
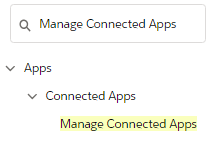
In Lightning Experience, go to Setup -> Search ‘Manage Connected Apps’
Click on ‘Edit’ in ‘My Postman API’ record.

Update the following picklists:
- Permitted users: All users may self-authorize.
- IP Relaxation: Relax IP restriction.
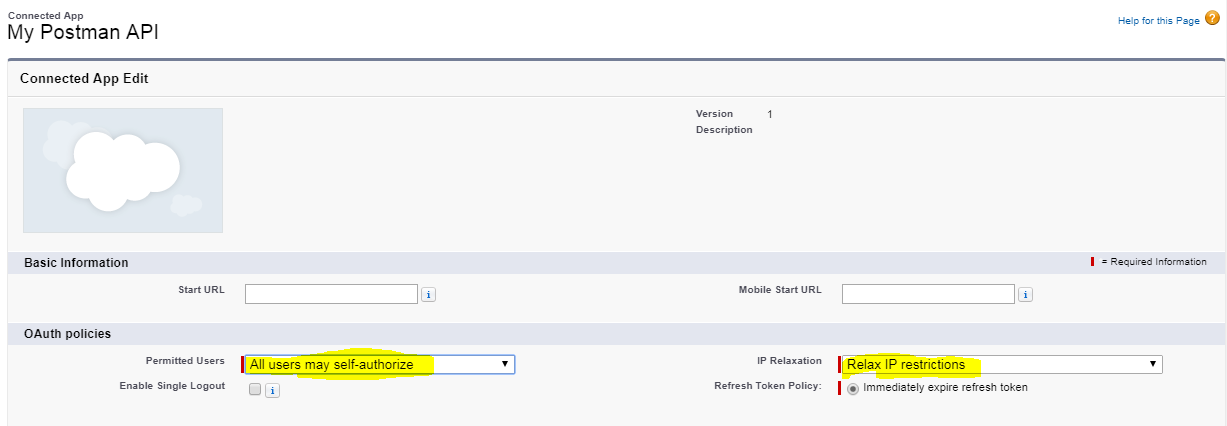
Click on ‘Save’ button.
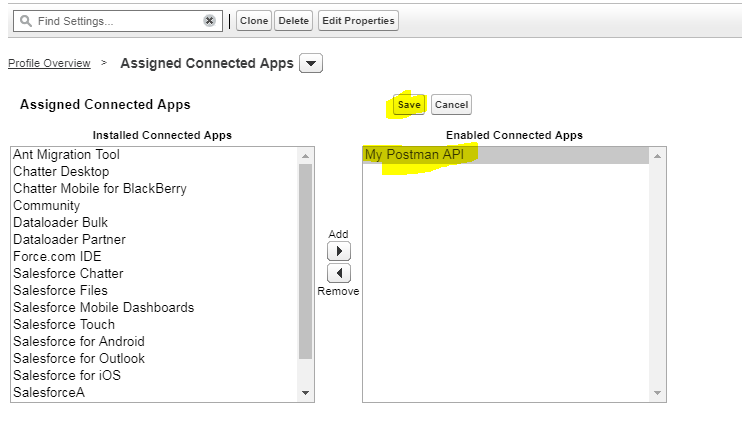
Step 4. Give the Salesforce app access to our profile
In Lightning Experience, go to Setup -> Search ‘Profiles’

Select a user profile, for example ‘System Administrator’.

Search ‘My Postman API’.

Click on ‘Edit’ button.

Add ‘My Postman API’ and click on ‘Save’ button.
Step 5. Connect Postman with Salesforce App
Open Postman -> Create a new tab -> Set a POST service -> Set the following url: https://OUR_ORG_NAME.my.salesforce.com/services/oauth2/token

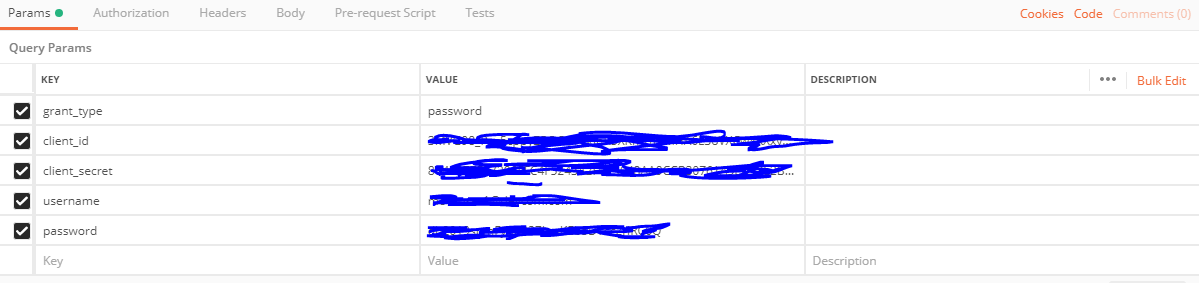
Click on the ‘Params’ tab -> Fill the fields with the following:
- grant_type: password
- client_id: Customer Key (see Step 2)
- client_secret: Customer Secret (see Step 2)
- username: Salesforce username
- password: Salesforce user password. If we have set up a token, then it is password+token. IMPORTANT: pay attention if we include any symbol in passwors like ‘+’, ‘&’… because it could be not set up properly.
Click on ‘Send’ button.

We have to copy the ‘access_token’ to use it later.

Step 6. Create an Account from Postman
Create a new tab -> Set a POST service -> Set the following url: https://OUR_ORG_NAME.my.salesforce.com/services/data/v44.0/sobjects/Account

On the ‘Headers’ tab -> set the following values:
- Authorization: Bearer ACCESS_TOKEN (see Step 5)
- Content-Type: application/json

On the ‘Body’ tab, write this JSON script:
{
	"Name": "Postman API test"
}

Click on ‘Send’ button.

Return the inserted account id.

Resources
